Brilliant Ways to Upcycle Your Old Baby Crib
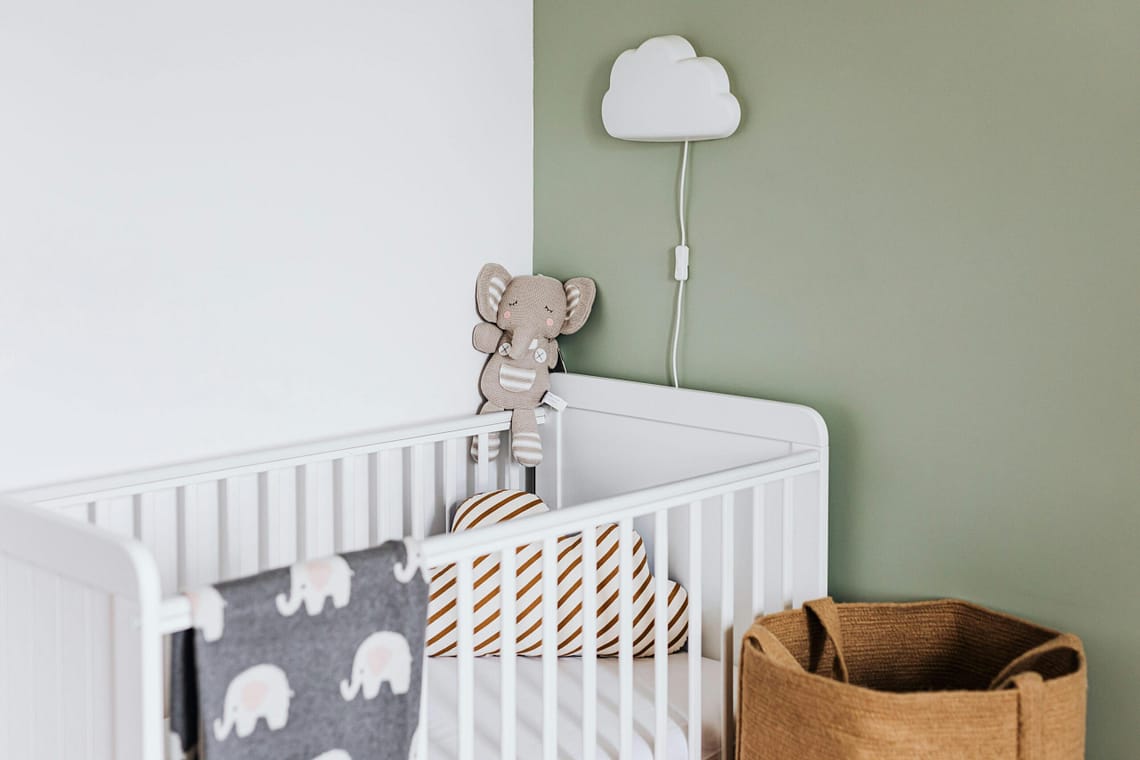
There is a particular kind of quiet that settles over a nursery after your child has outgrown it.
The crib is still there, solid and familiar, but nobody sleeps in it anymore. It is too big to ignore and too full of memory to simply discard. I remember standing in my daughter’s room after we moved her to her first proper bed, looking at that crib and feeling genuinely reluctant to let it go, not because we needed it, but because it had held something irreplaceable.
If you are in that same in-between moment, here is a thought worth sitting with: you do not have to sell it, store it indefinitely, or send it to a landfill. A well-made baby crib is solid wood, with good joinery and years of life left in it. The most intentional thing you can do is give it a second purpose.
These baby crib upcycle ideas range from beginner-friendly weekend projects to more ambitious builds. All of them turn a nursery piece into something your family will actually use.
Before You Start: A Few Practical Checks
Before any project, spend ten minutes on these:
- Check for recalls. Some older crib models have been recalled due to safety concerns. A quick search of your brand and model number on the CPSC website takes two minutes and is worth doing.
- Remove all hardware carefully and keep small parts in a labelled bag, away from children.
- Sand all surfaces before painting or refinishing. Splinters on repurposed furniture are avoidable.
- Use non-toxic paint and finishes, especially on anything that will be near children or used for seating.
- Test structural integrity before putting any weight on converted pieces.
Now, on to the good part.
1. Transform Your Crib Into a Stylish Convertible Sofa
Difficulty Level: Intermediate | Time Required: 4-6 hours
This one works especially well with older, sturdier wooden cribs that have a more classic silhouette. Lower one side rail to sofa-arm height, add a back cushion along the remaining high rail, and place a fitted mattress or thick foam cushion as the seat base.
The result is a small daybed or sofa that looks like a considered, slightly unusual piece of furniture rather than an obviously upcycled crib. Guests will ask where you found it.
This works well in a playroom, a child’s bedroom, or even a reading corner if the scale suits the room.
What You’ll Need:
- Foam cushions cut to size
- Upholstery fabric
- Sandpaper and paint (optional)
- Basic tools
Pro Tip: Use weatherproof cushions if you plan to place this on a covered porch.

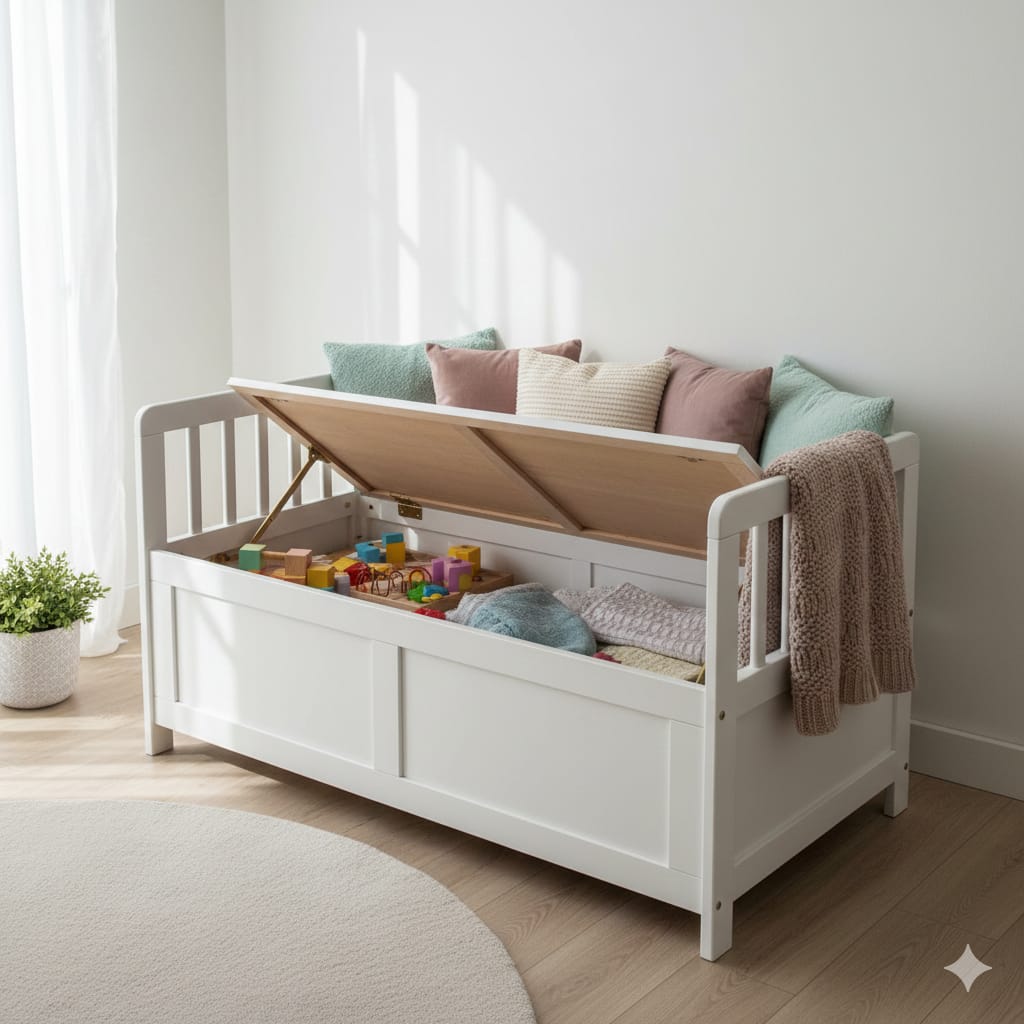
2. Create a Storage Bench with Hidden Compartments
Difficulty Level: Beginner-Intermediate | Time Required: 3-4 hours
Remove the front railing and attach hinges to the mattress support base so it lifts open. Add a cushioned top, and you have a storage bench that hides toys, extra linens, or seasonal items while providing practical seating.
This works particularly well at the foot of a bed, in an entryway, or in a mudroom. The wood frame of most cribs is solid enough to sit on comfortably once the structure is properly reinforced.
Step-by-Step Overview:
- Remove the front rail carefully
- Sand and refinish the wood
- Attach hinges to the mattress support
- Add a cushioned top for comfort
- Paint or stain to match your décor
This DIY crib bench is perfect for entryways, mudrooms, or at the foot of a bed.
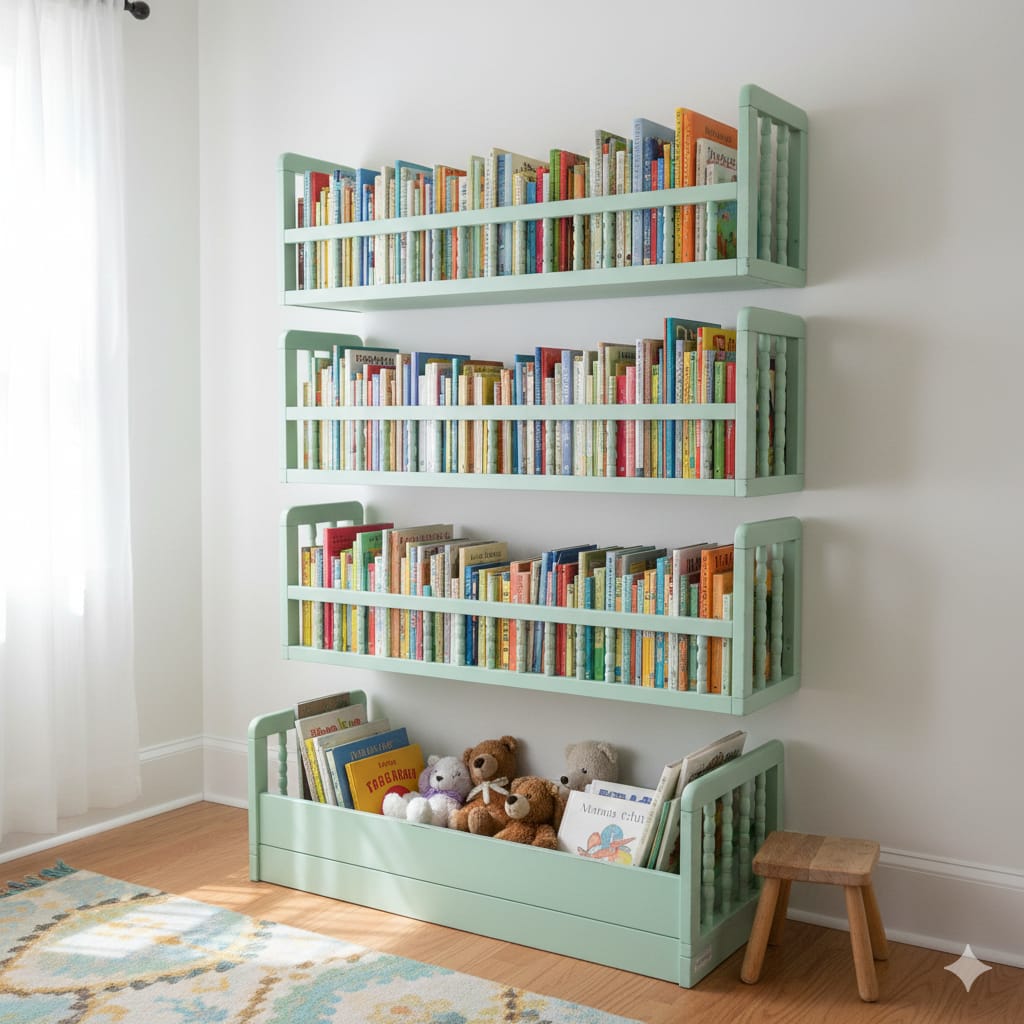
3. A Reading Nook Your Child Will Actually Use
Difficulty Level: Beginner | Time Required: 2-3 hours
This is the project I wish I had done sooner. Remove one side rail of the crib, add a thick cushion to the mattress base, and you have an enclosed, cosy reading nook that young children find genuinely magical. The remaining three sides give it a hutch-like feeling, contained and safe, which is exactly what most small children want from a reading spot.
The side rails work naturally as a small bookshelf, prop books spine-out between the slats, and they stay visible and accessible.
Add a lightweight canopy overhead if you want to make it feel more like a den. A string of warm fairy lights tucked along the top rail is enough to make it the most coveted spot in the room.
Design Ideas:
- Include a built-in bookshelf on the side rails
- Add a canopy for extra cosiness
- Paint in bright colours to match your child’s personality
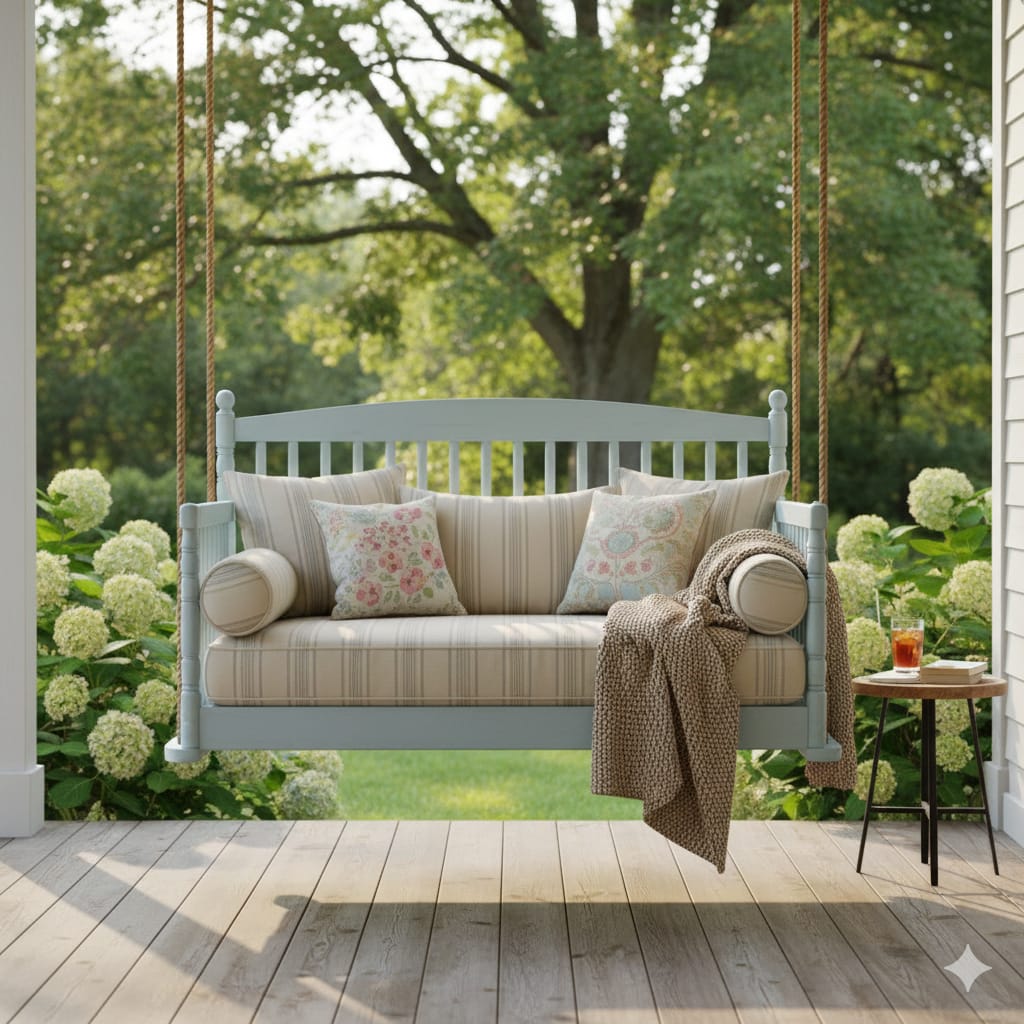
4. Weekend DIY Project: Outdoor Porch Swing
Difficulty Level: Intermediate-Advanced | Time Required: 5-8 hours
The flat mattress base of a crib, once removed and properly sanded and sealed, makes a surprisingly good swing base. With heavy-duty rope or chains and the right ceiling or beam anchor, this becomes a porch or balcony swing that feels personal and hand-made in the best way.
Safety is non-negotiable here: Confirm your ceiling beam or anchor point can safely support the weight of at least two adults. Use rope or chains rated for outdoor load-bearing use. Apply a proper weatherproof sealant to all wood surfaces. Sand thoroughly before use so there are no rough edges.
This is a weekend project that rewards patience. Done well, it is one of those pieces that becomes a fixture in a home.
Safety First:
- Ensure your porch beam can support the weight
- Use heavy-duty rope or chains rated for outdoor use
- Sand thoroughly to prevent splinters
- Apply weatherproof sealant
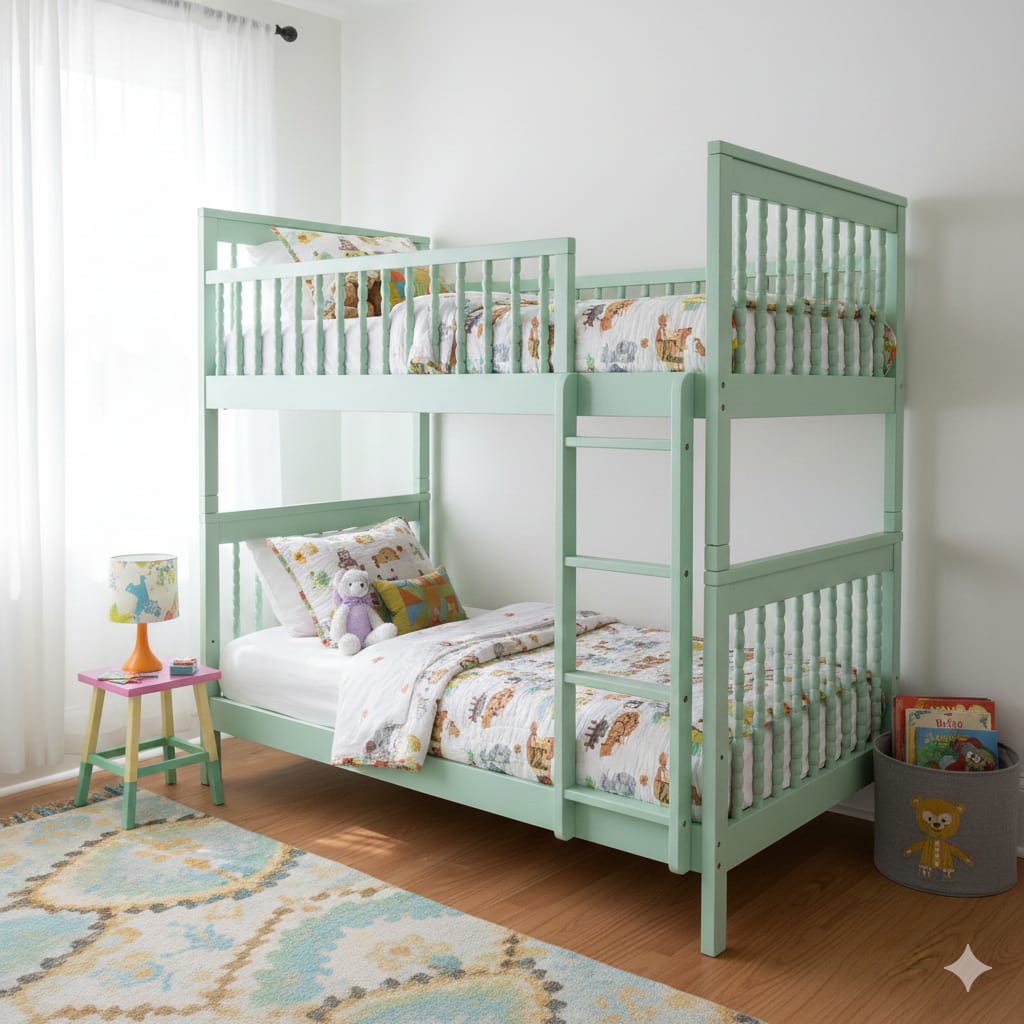
5. Double the Fun: Stacked Bunk Beds
Difficulty Level: Advanced | Time Required: 8-10 hours
If you have two matching cribs, this is an ambitious project that produces something genuinely useful for siblings close in age. With solid carpentry skills and proper reinforcement, two cribs can become a small-scale bunk bed that suits toddlers transitioning to bigger beds.
This is not a beginner project. Structural safety is paramount. The top bunk must be properly reinforced and must include safety rails. Check the weight capacity carefully before use.
If you have the skills or access to someone who does, the result is a custom piece of children’s furniture that would cost significantly more to buy.
Important Considerations:
- Ensure structural stability with proper reinforcement.
- Follow safety guidelines for bunk bed construction
- Install safety rails on the top bunk
- Check the weight capacity before use
This crib bunk bed transformation is ideal if you have twins or siblings close in age.
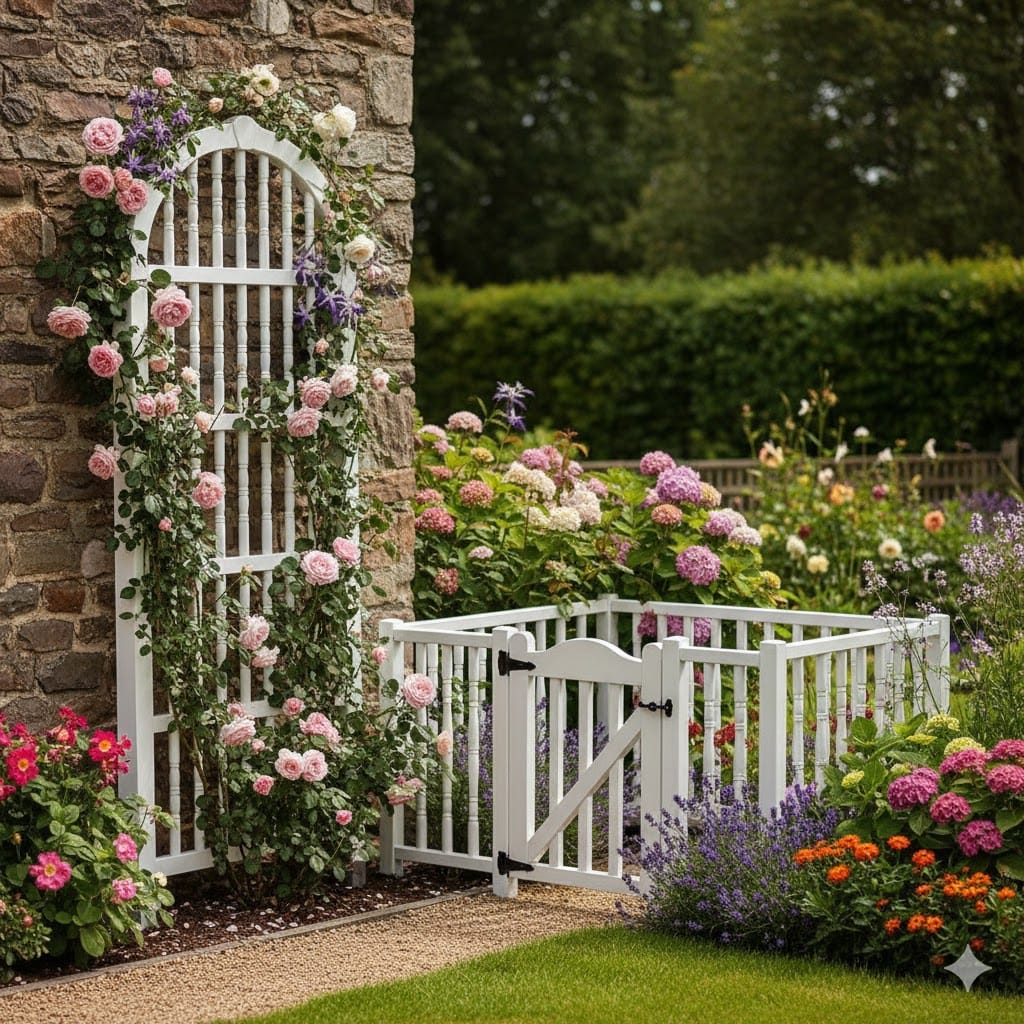
6. Garden Trellis or Decorative Display Railing
Difficulty Level: Beginner | Time Required: 1-2 hours
This is the easiest project on the list and one of the most satisfying. A wooden crib railing placed upright in the garden becomes an instant trellis for climbing plants: jasmine, money plant, passionflower, or whatever grows well in your climate.
Indoors, the same railing becomes a display wall. Hang small framed photos using S-hooks between the slats. Use it as a jewellery organiser. Lean it against a wall and hang air plants or small potted plants from the horizontal bars.
Homes with balcony gardens, a crib railing trellis with a fast-growing climber, are one of the easiest ways to add greenery without taking up floor space.
Creative Uses for Crib Railings:
- Vertical herb garden
- Photo display wall
- Jewelry organizer
- Magazine rack
- Kitchen pot lid holder
The opportunities are endless with this versatile crib railing upcycle!
Before You Start: Important Safety Tips
When upcycling your baby crib, keep these considerations in mind:
✓ Check for recalls on your specific crib model
✓ Remove all hardware safely and store small parts away from children
✓ Sand thoroughly to eliminate splinters and rough edges
✓ Use non-toxic paints and finishes, especially for children’s furniture
✓ Ensure structural integrity before putting weight on converted pieces
✓ Follow local regulations if repurposing for children’s sleeping furniture
Essential Tools and Materials for Crib Upcycling
Most DIY crib projects require these basic supplies:
- Sandpaper (various grits)
- Paint or wood stain
- Screwdriver and drill
- Measuring tape
- Saw (for advanced projects)
- Wood glue and screws
- Sealant or polyurethane finish
Make Your Upcycled Crib Last
To ensure your repurposed crib furniture stands the test of time:
- Prep properly: Clean and sand all surfaces before painting
- Choose quality finishes: Invest in durable paints and sealants
- Maintain regularly: Touch up scratches and reapply sealant annually for outdoor pieces
- Store safely: Keep indoor projects away from excessive moisture
From Nursery to Forever: Sustainable Furniture Solutions
There is something that feels right about keeping a piece of furniture in the family rather than passing it on the moment it has served its original purpose. Especially one that held your child while they slept.
These baby crib upcycle projects are practical, yes. But they are also a small act of intention: choosing to extend the life of something well-made rather than replacing it automatically. That is the kind of decision that fits well in a home built around slow, considered living.
Which of these projects are you planning to try? Share it in the comments.
Subscribe for more eco-friendly home projects!


You May Also Like
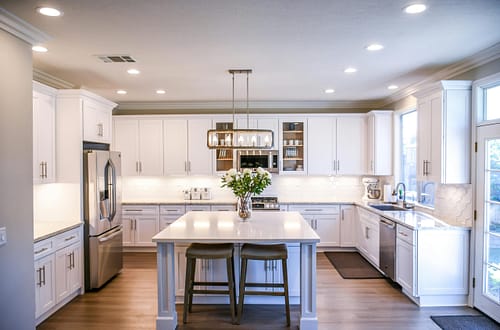
Top Kitchen Organisation Must-Haves
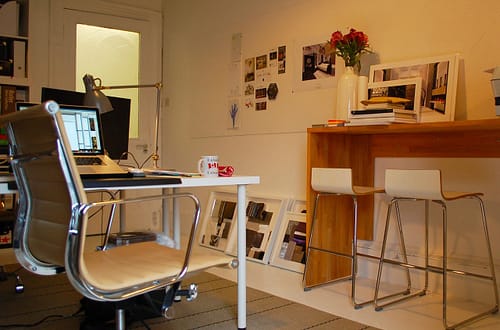
Home Office Ergonomics: The Complete Guide to Creating Your Perfect Work-From-Home Setup